
One of the methods coffee enthusiasts prefer for making coffee the pour-over method. There’s a strong case to be made that it’s the best way to make coffee, but in a world that’s trending increasingly towards a one-button solution for their morning brew, using the pour-over method looks more complicated and artful than many people are willing to undertake.
In fact, it’s not that complicated, and well worth the small amount of extra time it takes.
Why Use The Pour-Over Method
Before we get into exactly how to use a pour-over coffee maker, let’s take a quick look at exactly why you might want to use the pour-over coffee method.
The main advantage of the pour-over method is control. Pour-over brewing allows you to control basically every element of the coffee-making process, including water temperature, brewing time, how quickly water is added to the grounds (which is not the same thing as brewing time), and how much coffee you make. In turn, this controls the flavor, strength, temperature, and even texture of the end product.
This control also allows you to emphasize or balance the flavor profiles of different coffee beans, allowing you to make the most out of coffee beans from different growing locations, or that have used different processing or roasting methods.
How To Use A Pour-Over Coffee Maker
To give you a better idea of how to use a pour-over coffee maker, let’s look at step-by-step tutorials for two of the most popular brands of pour-over coffee maker: the Chemex Coffeemaker and the Hario V60.
Chemex Coffeemaker
The Chemex Coffeemaker is an all-in-one pour-over brewer, which allows for more stability, but requires you to always use the full gadget instead of brewing directly into a single mug.
1. Grind The Beans
For the pour-over method, beans should be ground to a medium-coarse consistency. Typically a burr grinder is recommended for coarser grinding consistencies, primarily because it allows all the resulting particles to be more evenly sized. Blade grinders can have wildly inconsistent sizes when producing coarser brews.
2. Fold The Coffee Filter
Chemex recommends using their bonded filters, but other brands of cone-shaped filters may work as well. Fold the filter into quarters to create a cone shape, then open it, so three layers of the filter are one side, and insert it into the top of the coffee maker. The side with three layers should be covering the pour spout.
If you’d like, you can dampen the filter with hot water, which will also warm the coffeemaker’s glass, preventing the coffee from cooling too drastically.

3. Add Coffee Grounds
At our shops, we use an average ratio of 1:17 water to coffee ratio. We start with 20g of coffee to 340g of water. Using a tablespoon measure, pour the coffee grounds into the filter. Typically one rounded tablespoon will make 5 ounces of coffee. Still, you are free to adjust if you would prefer stronger or weaker coffee.
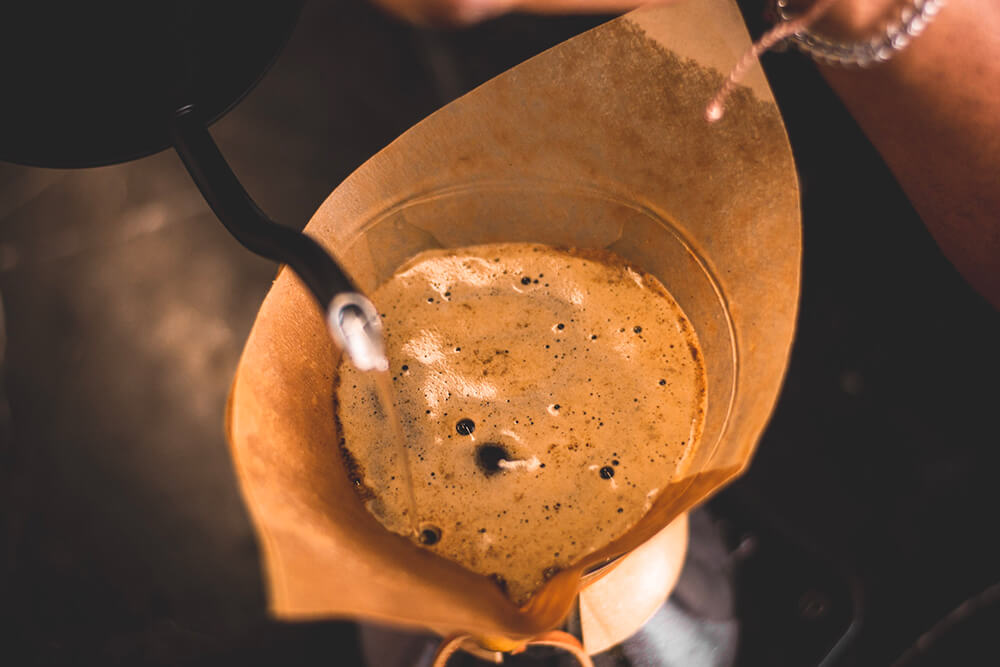
4. Blooming The Grounds
Bring water to a full boil using a stovetop or electric kettle, remove from the heat and wait until it is no longer boiling (or longer if you prefer a lower temperature brewing). Pour just enough water in to wet the grounds, and wait between 30-45 seconds. This allows the coffee grounds to bloom, which helps the gases trapped inside the coffee to release, setting room for a more even extraction bringing out the most desirable flavors and components of the coffee grounds.
If you have more precise controls available, 200 degrees Fahrenheit is considered optimal brewing temperature.
5. Begin Pouring
Slowly pour water into the grounds in a spiral motion aiming for all the dark spots on your coffee bed, careful not to overflow the container. Once the water level is within ½ to ¼ inch of the top of the coffeemaker, stop pouring.
6. Continue Pouring
As the coffee drains into the coffee maker’s reservoir, continue to pour the remaining water over the grounds. For best result, use circular motions that will lightly stir and thoroughly soak all the coffee grounds. The total brewing time should be between 3-1/2 to 4 minutes. Adjust your grounds accordantly to achieve this time by grinding finer to slow down and coarser to speed up,
7. Discard The Filter
Once you’ve brewed the desired amount of coffee and the filter has drained, remove, and discard the filter.
8. Pour & Enjoy
The Chemex Coffeemaker has a built-in pour spout, easily allowing you to pour multiple servings.
Additional Notes
- If you make multiple cups and wish to keep them warm, the Chemex can be placed directly on a gas burner or gas stovetop. Accessories are available that allow it to be heated on a coil stovetop.
- The wooden handle can be removed and is the only part of the Chemex that is not dishwasher safe.
Hario V60
The Hario V60 can be purchased with a pot, or can be purchased separately and placed directly on a mug or carafe

1. Grind
Grind the coffee beans to a medium or medium coarse consistency.
2. Fold & Insert
The Filter Fold your filter into a cone shape and place it in the V60. There is no need for special layering or configuration, simply place the filter evenly into the V60.
You can also use any brand of cone-shaped filters, unlike the Chemex.
3. Rinse the Filter
Pour a small amount of warm or hot water into the filter to get rid of the paper flavor. This will also warm up the mug or other receptacle you’re using. Since the V60 is not attached to the reservoir, the rinse water can easily be discarded.
4. Add The Grounds
The V60 official instructions recommend 3 tablespoons to make 10-14 ounces of coffee, which is roughly 1 to 1.5 tablespoon per 5 ounces, if you need to convert up or down.
5. Bloom The Grounds
Pour in enough water to just barely cover the grounds, activating and releasing key flavor and brewing components. Let sit for 15-30 seconds.
6. Pour The Water
Pour water in gradually, in a circular motion, taking care not to overfill the V60. Wait 10-15 seconds after filling, then add more until you’ve created the desired amount of coffee.
7. Enjoy
The V60 is not attached, and so can be placed to the side, on a plate, coaster, or towel, and the coffee can be drunken or served immediately from the reservoir used.
In Conclusion Brewing coffee using the pour-over method produces a delicious cup of coffee made exactly to your preferences. It can take some time to master, but is mostly about getting the timing right.